9.2. User management
This section describes the operations you can perform on domain users. Three kinds of users are considered: integrated user Owner, Private users and Contact users. Integrated user Guest is considered in “Guest access” chapter. The “Office Automation” demo project is used to demonstrate user management.
9.2.1. Creating new users
Initially, a domain with two integrated users looks like this:
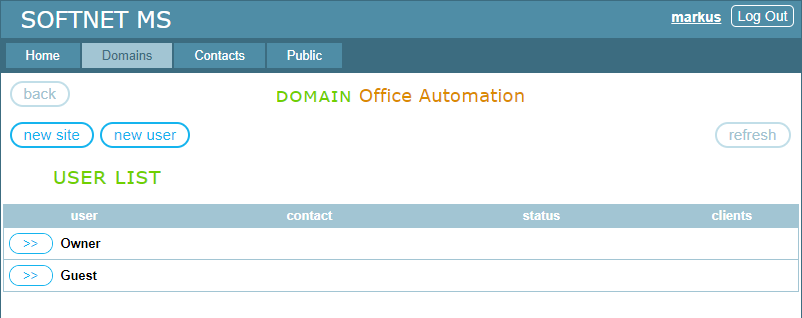
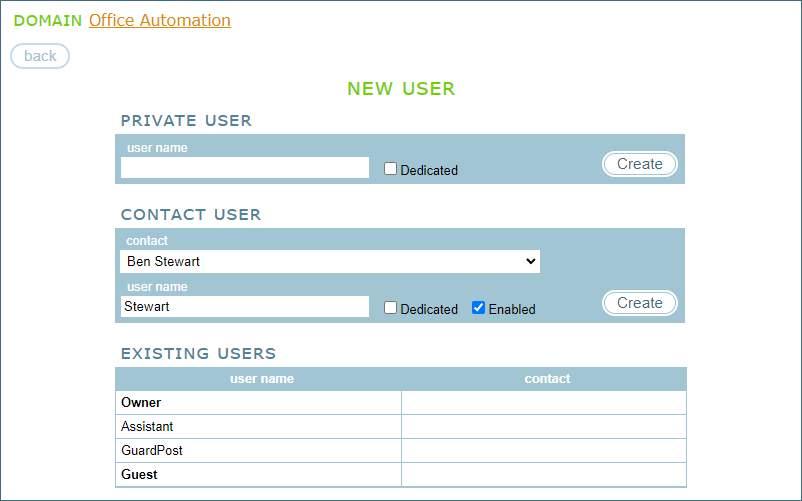
To create a new user, click the “new user” button. It takes you to the following page:
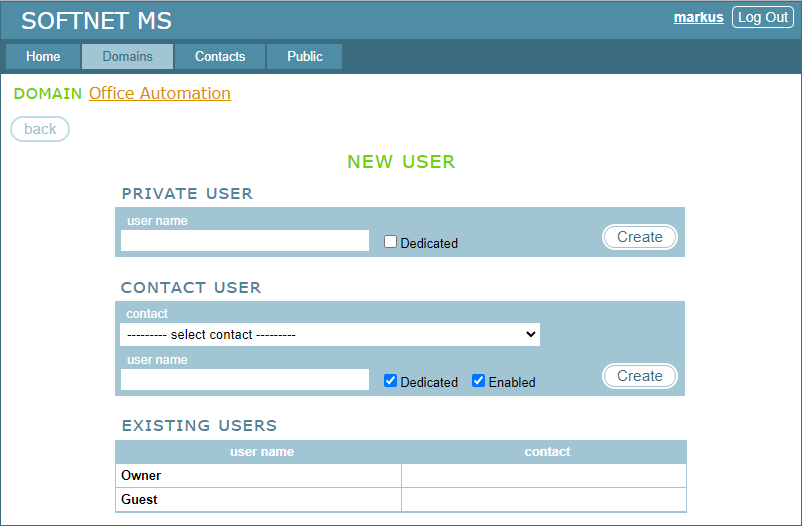
The NEW USER panel contains three sections. The first section PRIVATE USER is for creating a Private user. It contains a text field “user name”, and a checkbox labeled “Dedicated”. Specify their values and click on “Create” to create a user.
As you can see, both the PRIVATE USER and CONTACT USER sections contain the “Dedicated” checkbox. This option makes the user dedicated, which means that the default access rights that some sites may set for the domain users are not applicable to this user. Using default rights may be convenient if you have more than a few users in the domain. For more information, see “Default access rights & dedicated users” in the next section.
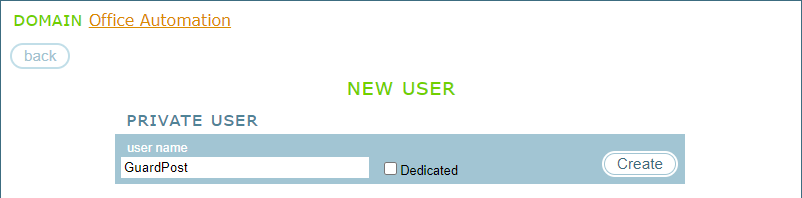
In the following image, a Private user GuardPost is being created in the “Office Automation” domain of our demo project:
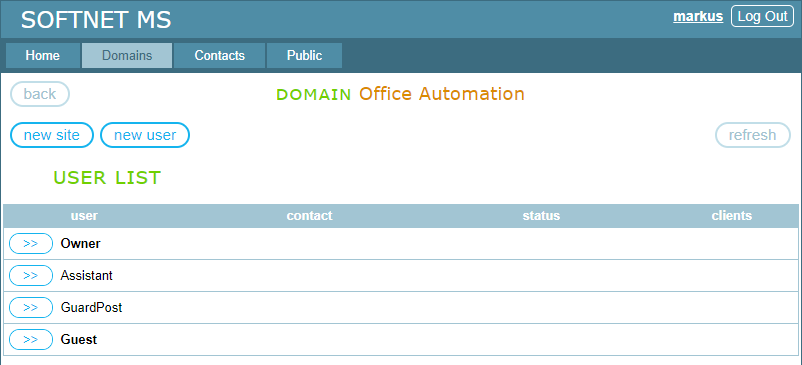
After adding two Private users, GuardPost and Assistant, the list of users in “Office Automation” looks like this:
The CONTACT USER section of the NEW USER panel is for creating a Contact user:

First you need to select a contact from the contact list. If the user default name was previously set for the selected contact, it is populated in the “user name” field which you can change if you wish, otherwise you enter it manually. Then you need to specify the values for the “Dedicated” and “Enabled” checkboxes and click “Create”. In the following image, the contact “Ben Stewart” is selected. The user default name “Stewart” was previously set for this contact, so it is populated in the “user name” field:
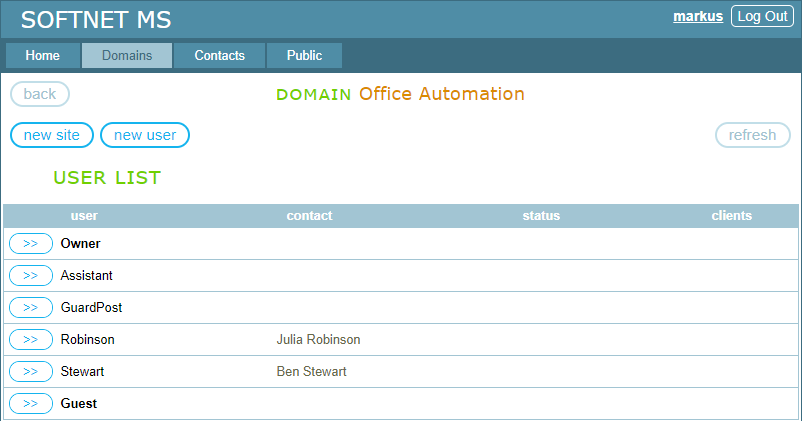
After adding two Contact users, Stewart and Robinson, the list of users in “Office Automation” looks like this:
The third section of the NEW USER panel is EXISTING USERS, where the existing domain users are displayed.
9.2.2. Editing the USER LIST
There is a set of operations that you can perform on the existing users. To the left of each user in the list there is a “>>” button. Clicking on this button puts the list item into edit mode. In the following image, the Contact user Stewart is in edit mode:
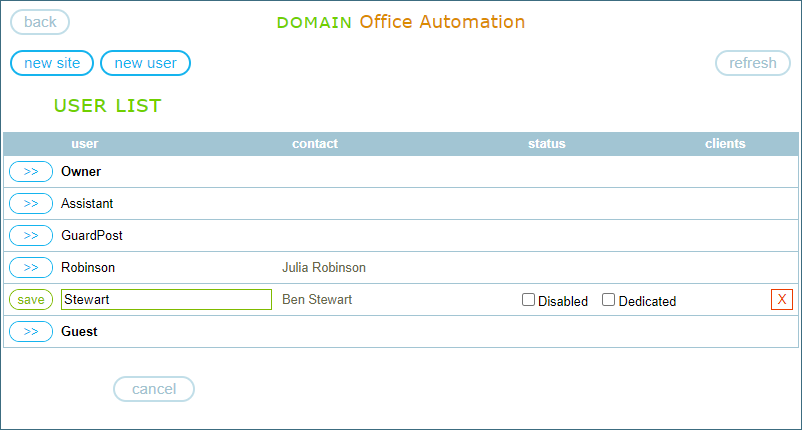
In edit mode, you can change the user name, make the user dedicated, disable or enable it, or you can delete it. If you make a user disabled, all client applications associated with the user are blocked with status “User Disabled”. As for integrated users Owner and Guest, you can only disable/enable them.
TABLE OF CONTENTS
- 9.1. Demo project
- 9.2. User management
- 9.3. Assigning access rights